Morse Code Twitter Answering Machine
Quick demo of functionality Vlog is a’coming
Like my last project, my intention was to make a project that would leverage my magnetic implants, but as an output instead of an input. I took the elementary idea of converting text into electromagnetic fields resembling Morse code, and made it cool™ by hooking it up to the Twitter API.
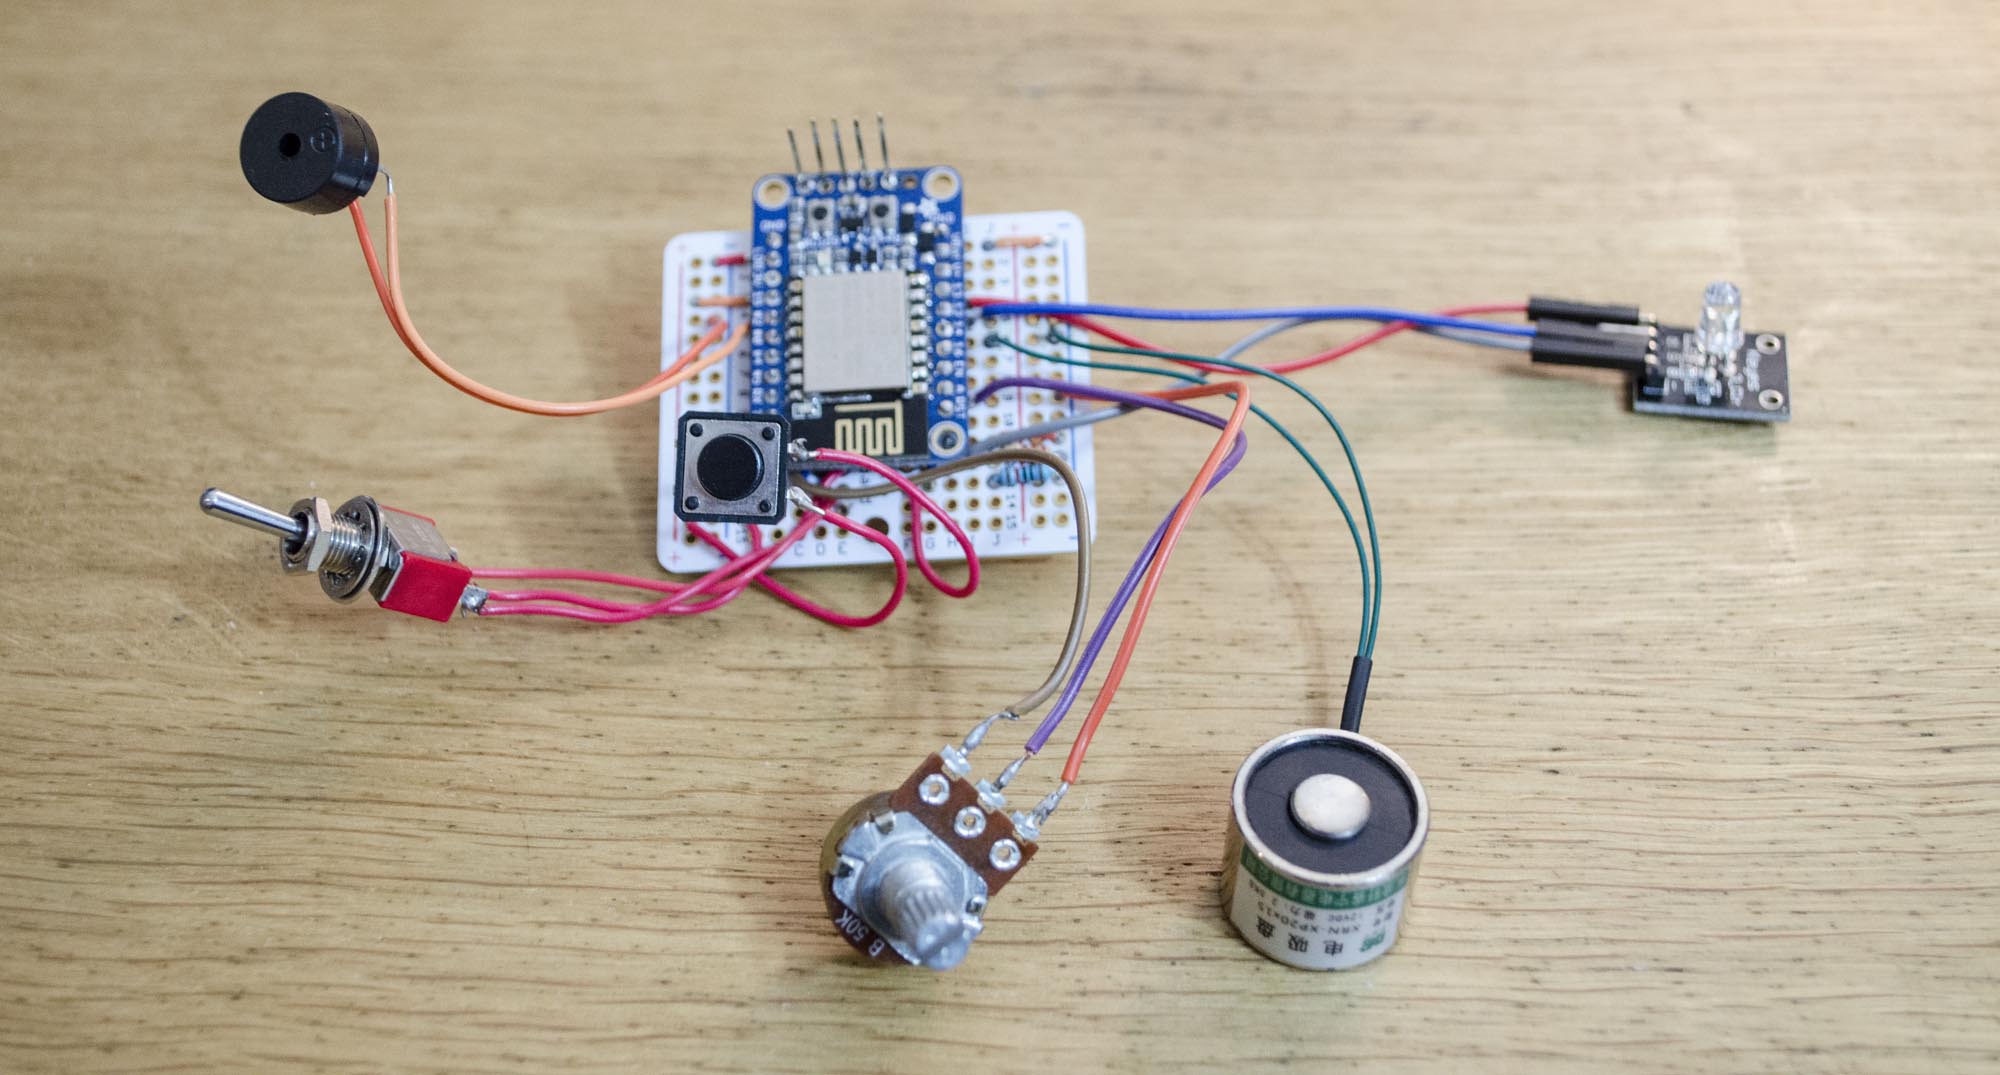
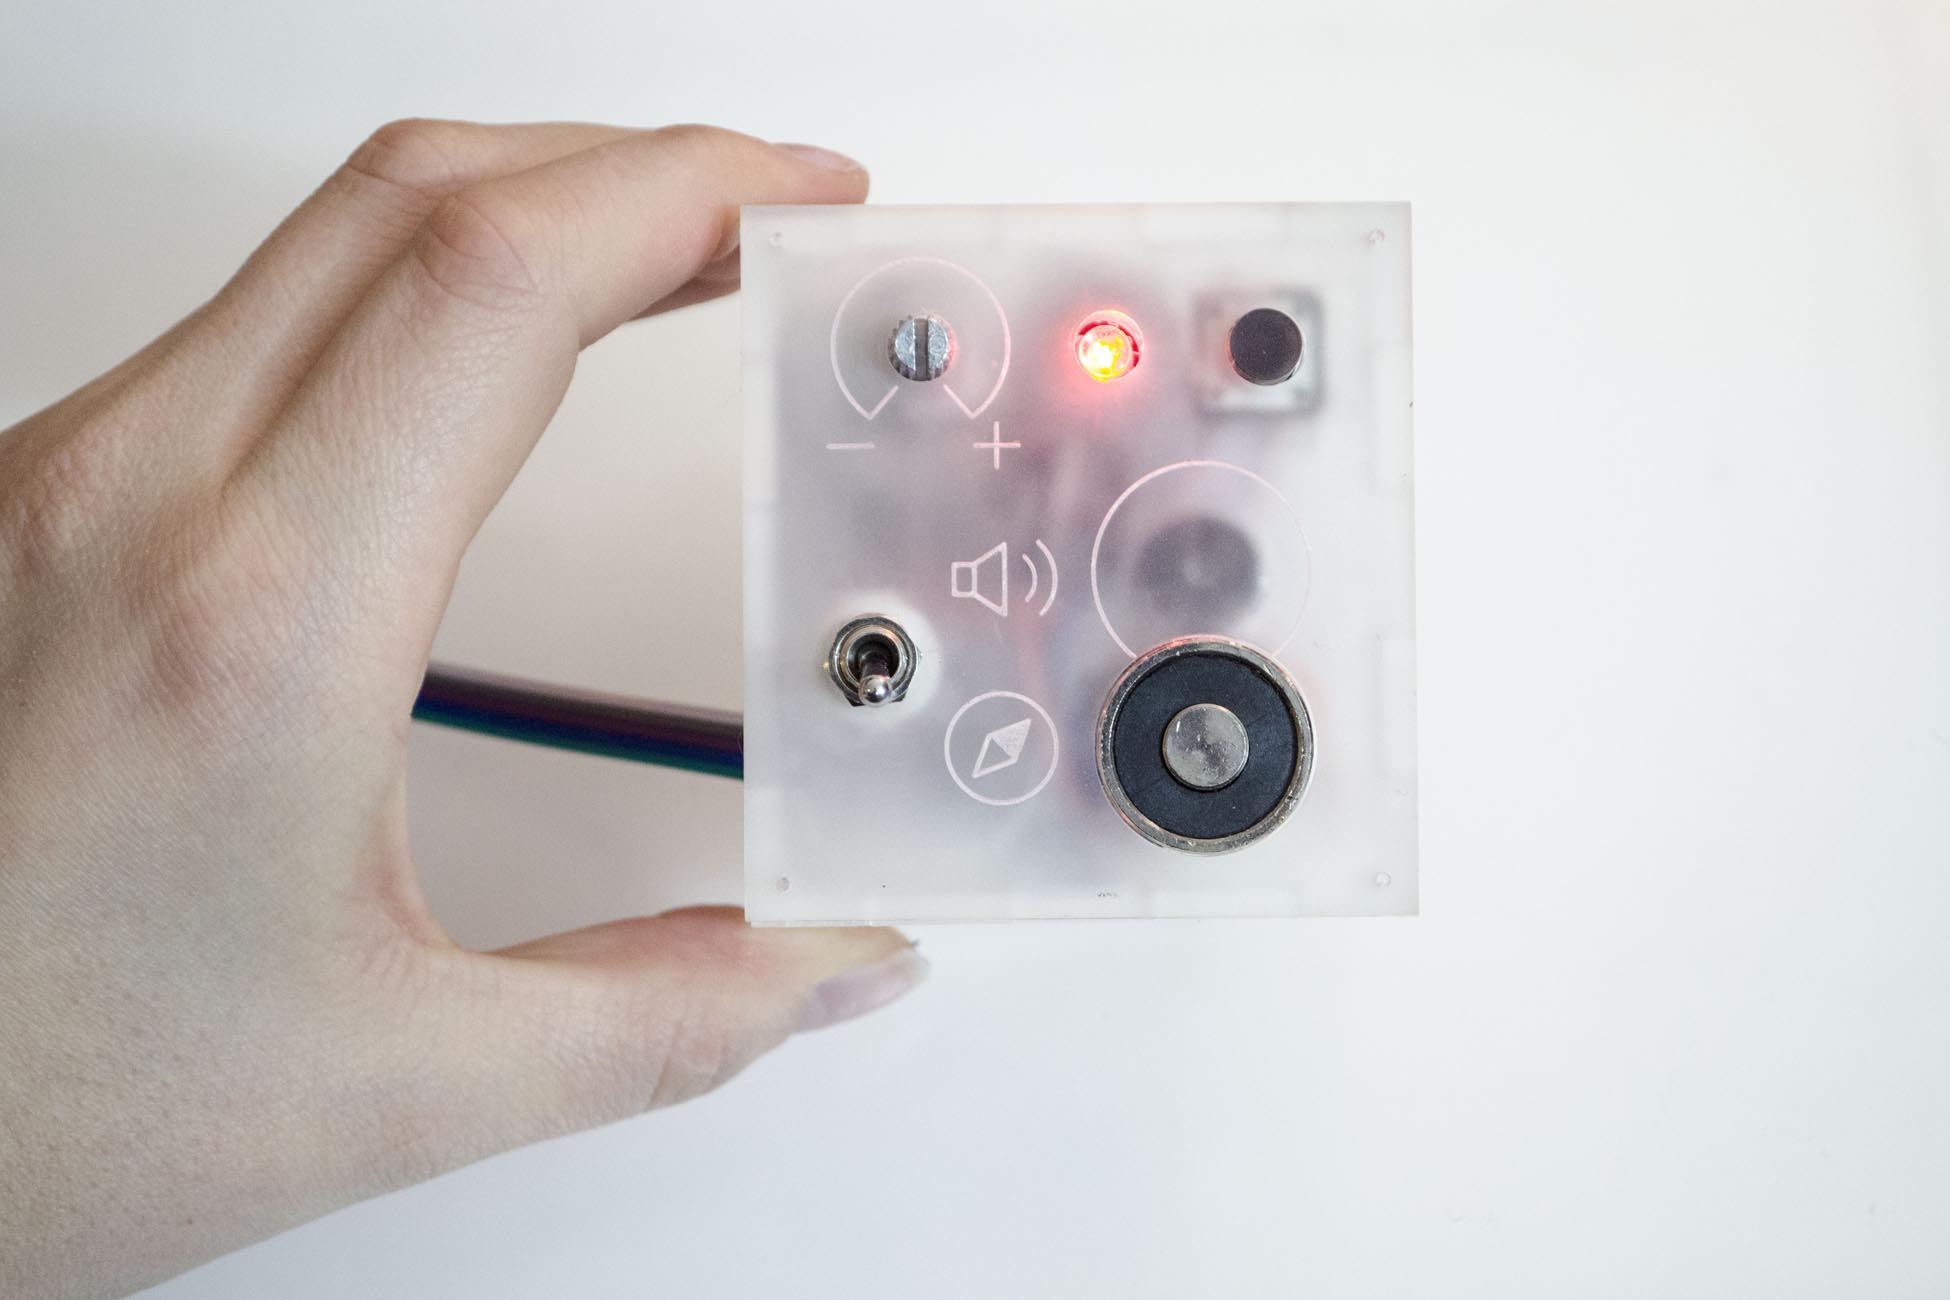
It developed into a de-facto answering machine that outputs morse code either through a buzzer or an electromagnet, the speed of the playback can be manipulated by a dial, and there is also a button to initiate playback or trigger an API request (a minutely occurance anyway), as well as an LED to indicate the current state of the machine.
The light shows blue when there are no messages, red when there are messages to play, flashes pink when it’s making an API request, and shows pink when it’s handling the API request and during playback. The LED will turn off if the toggle is not switched to either output, but will show for API requests throughout.
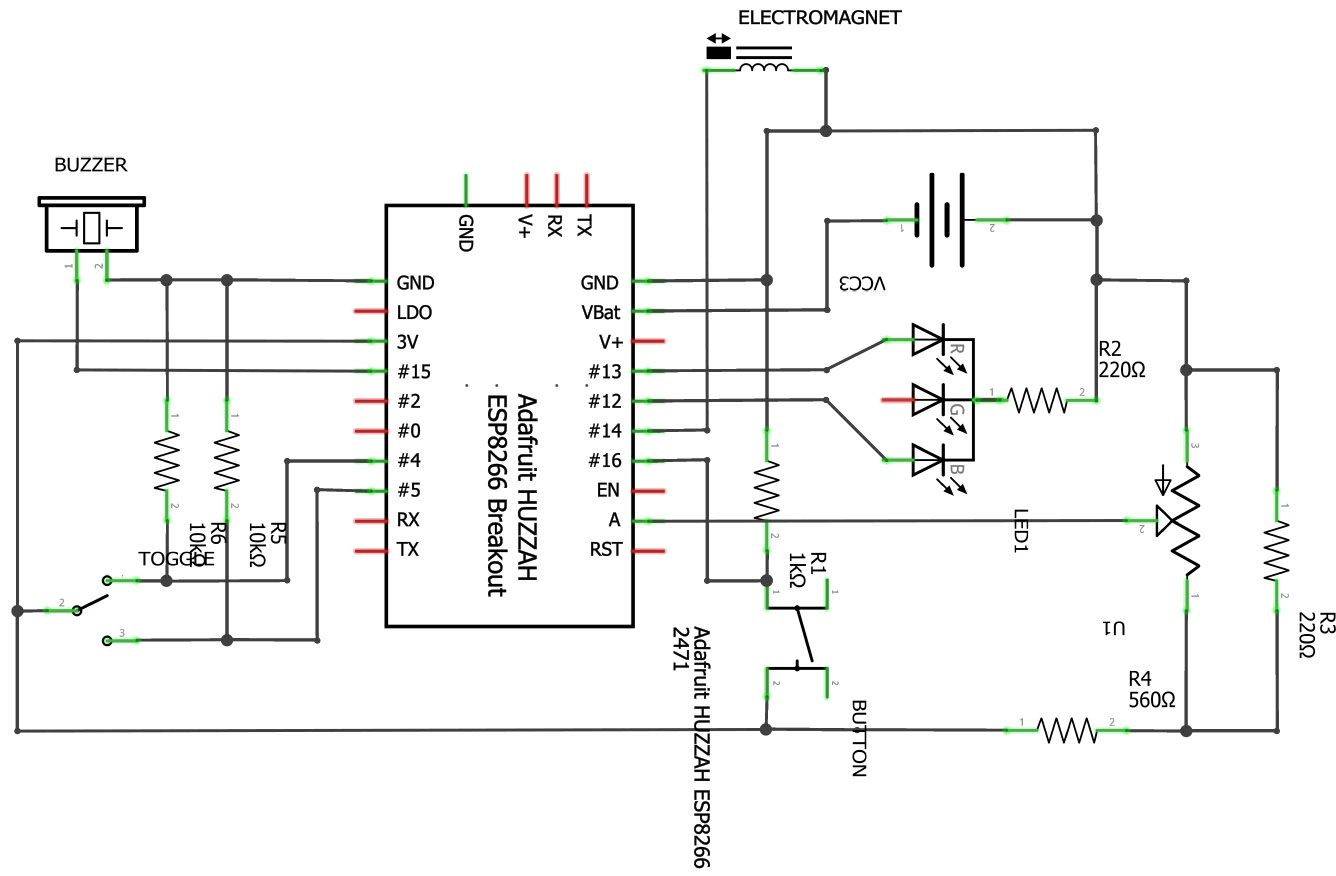
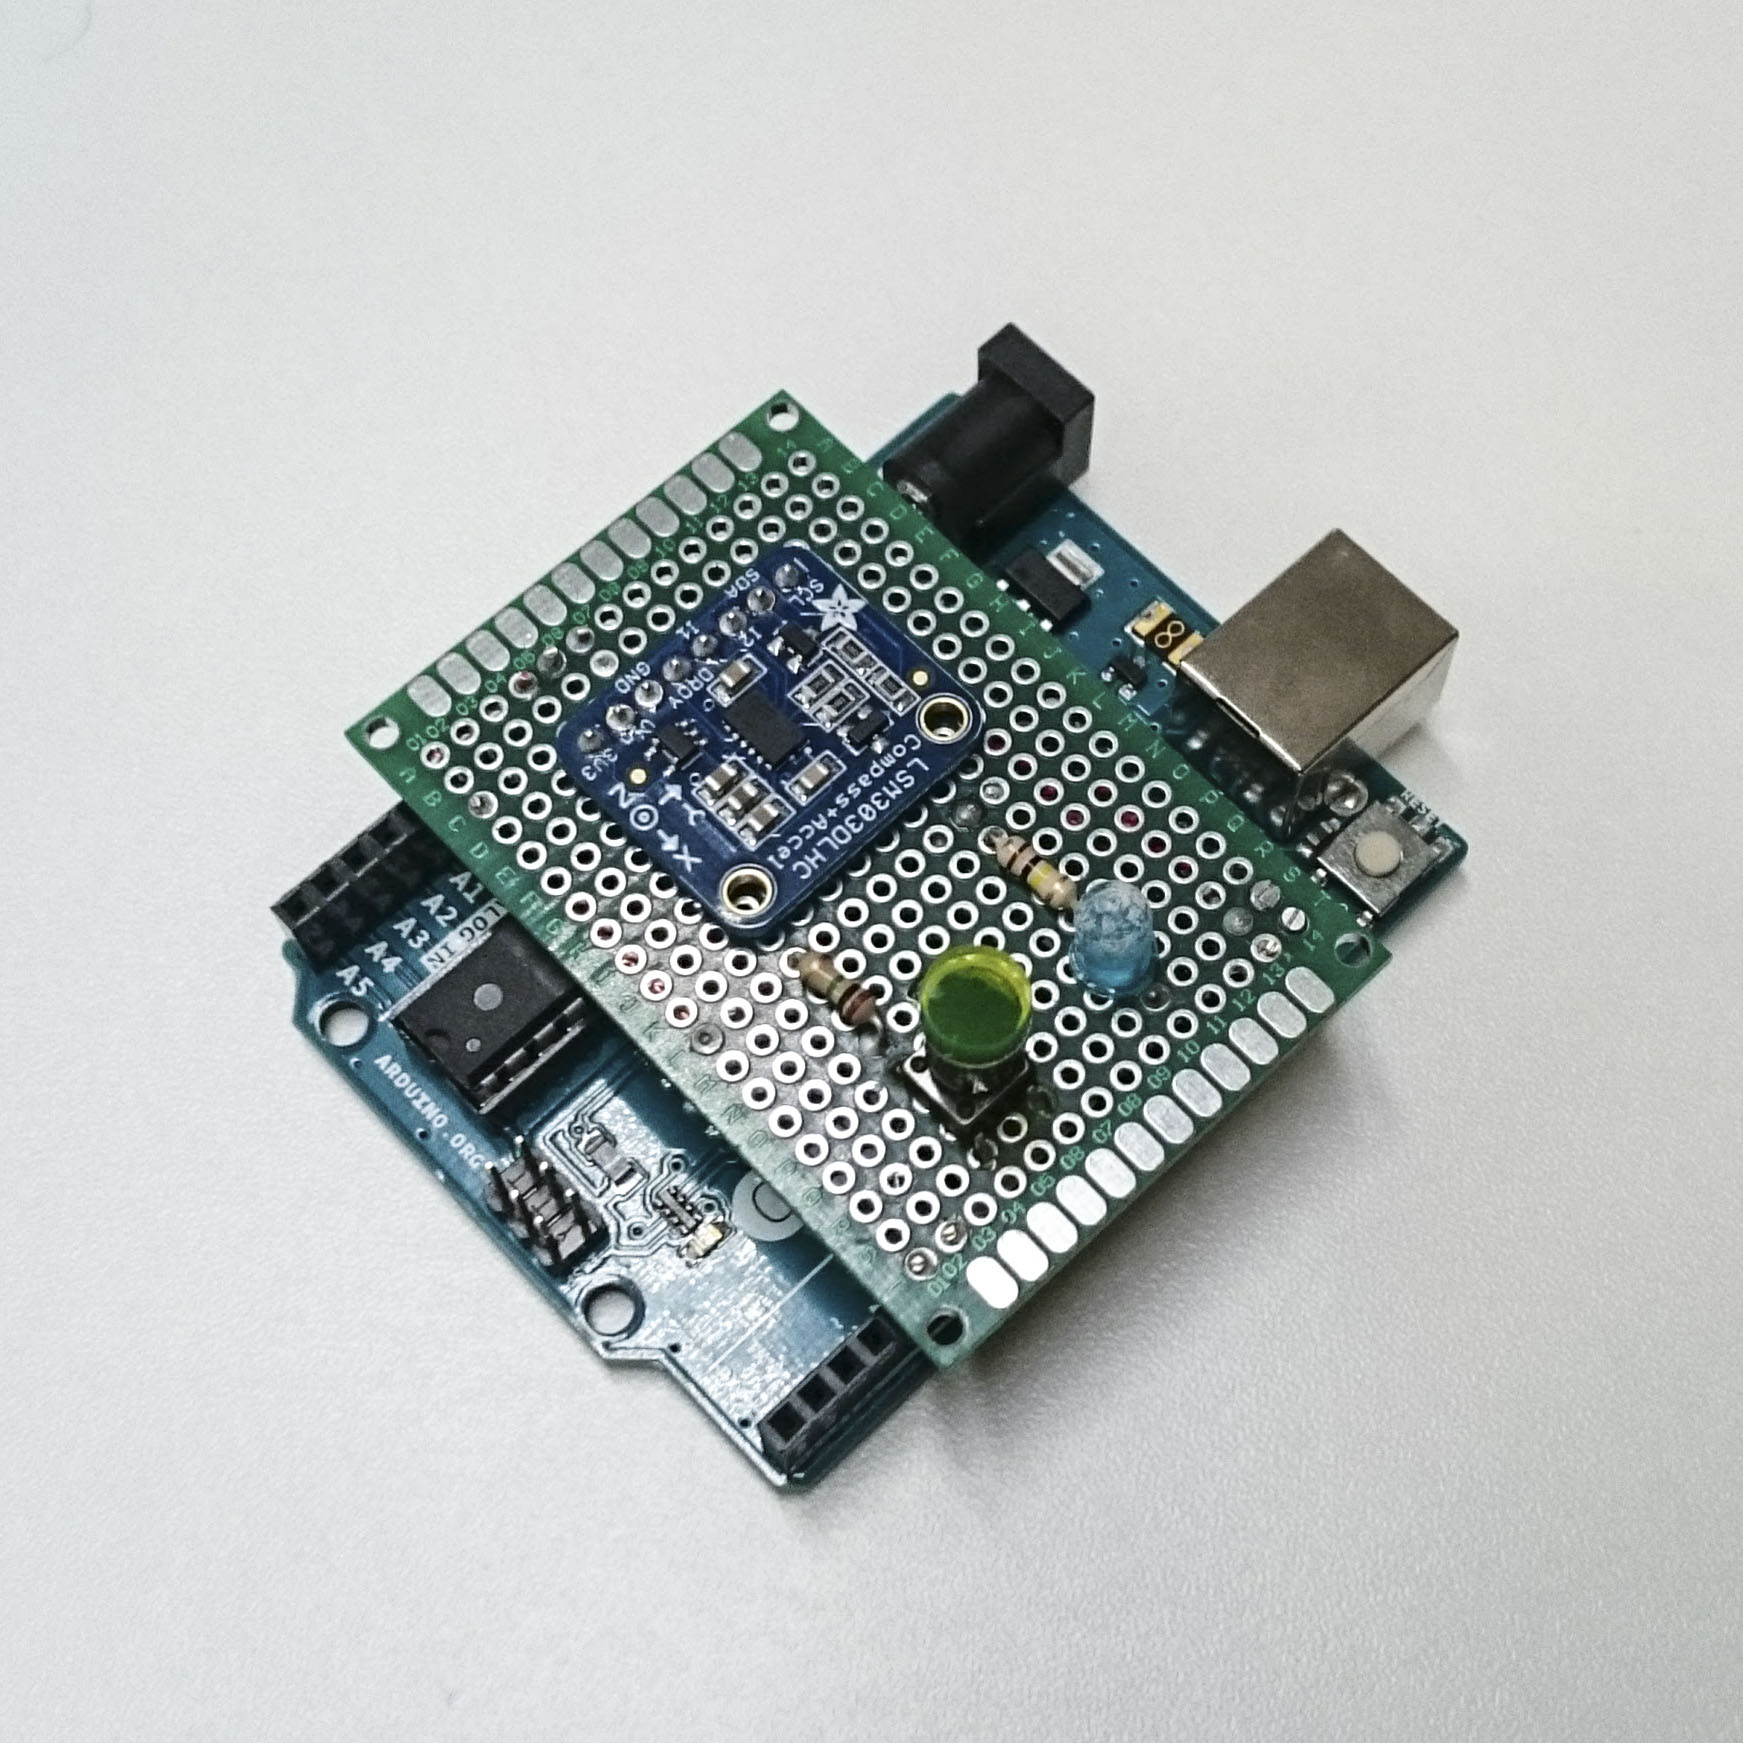
I used an ESP2866 chip mounted on an Adafruit Huzzah breakout board for the microcontroller in order to have simple WiFi access alongside the ease of Arduino firmware. I went through several iterations of the circuit layout and had to compromise some features due to lack of I/O (I thought it was important for the microcontroller to be aware of the toggle switch’s state instead of just electronically guiding the output to have an ‘off state’, but it was at the expense of the green LED).
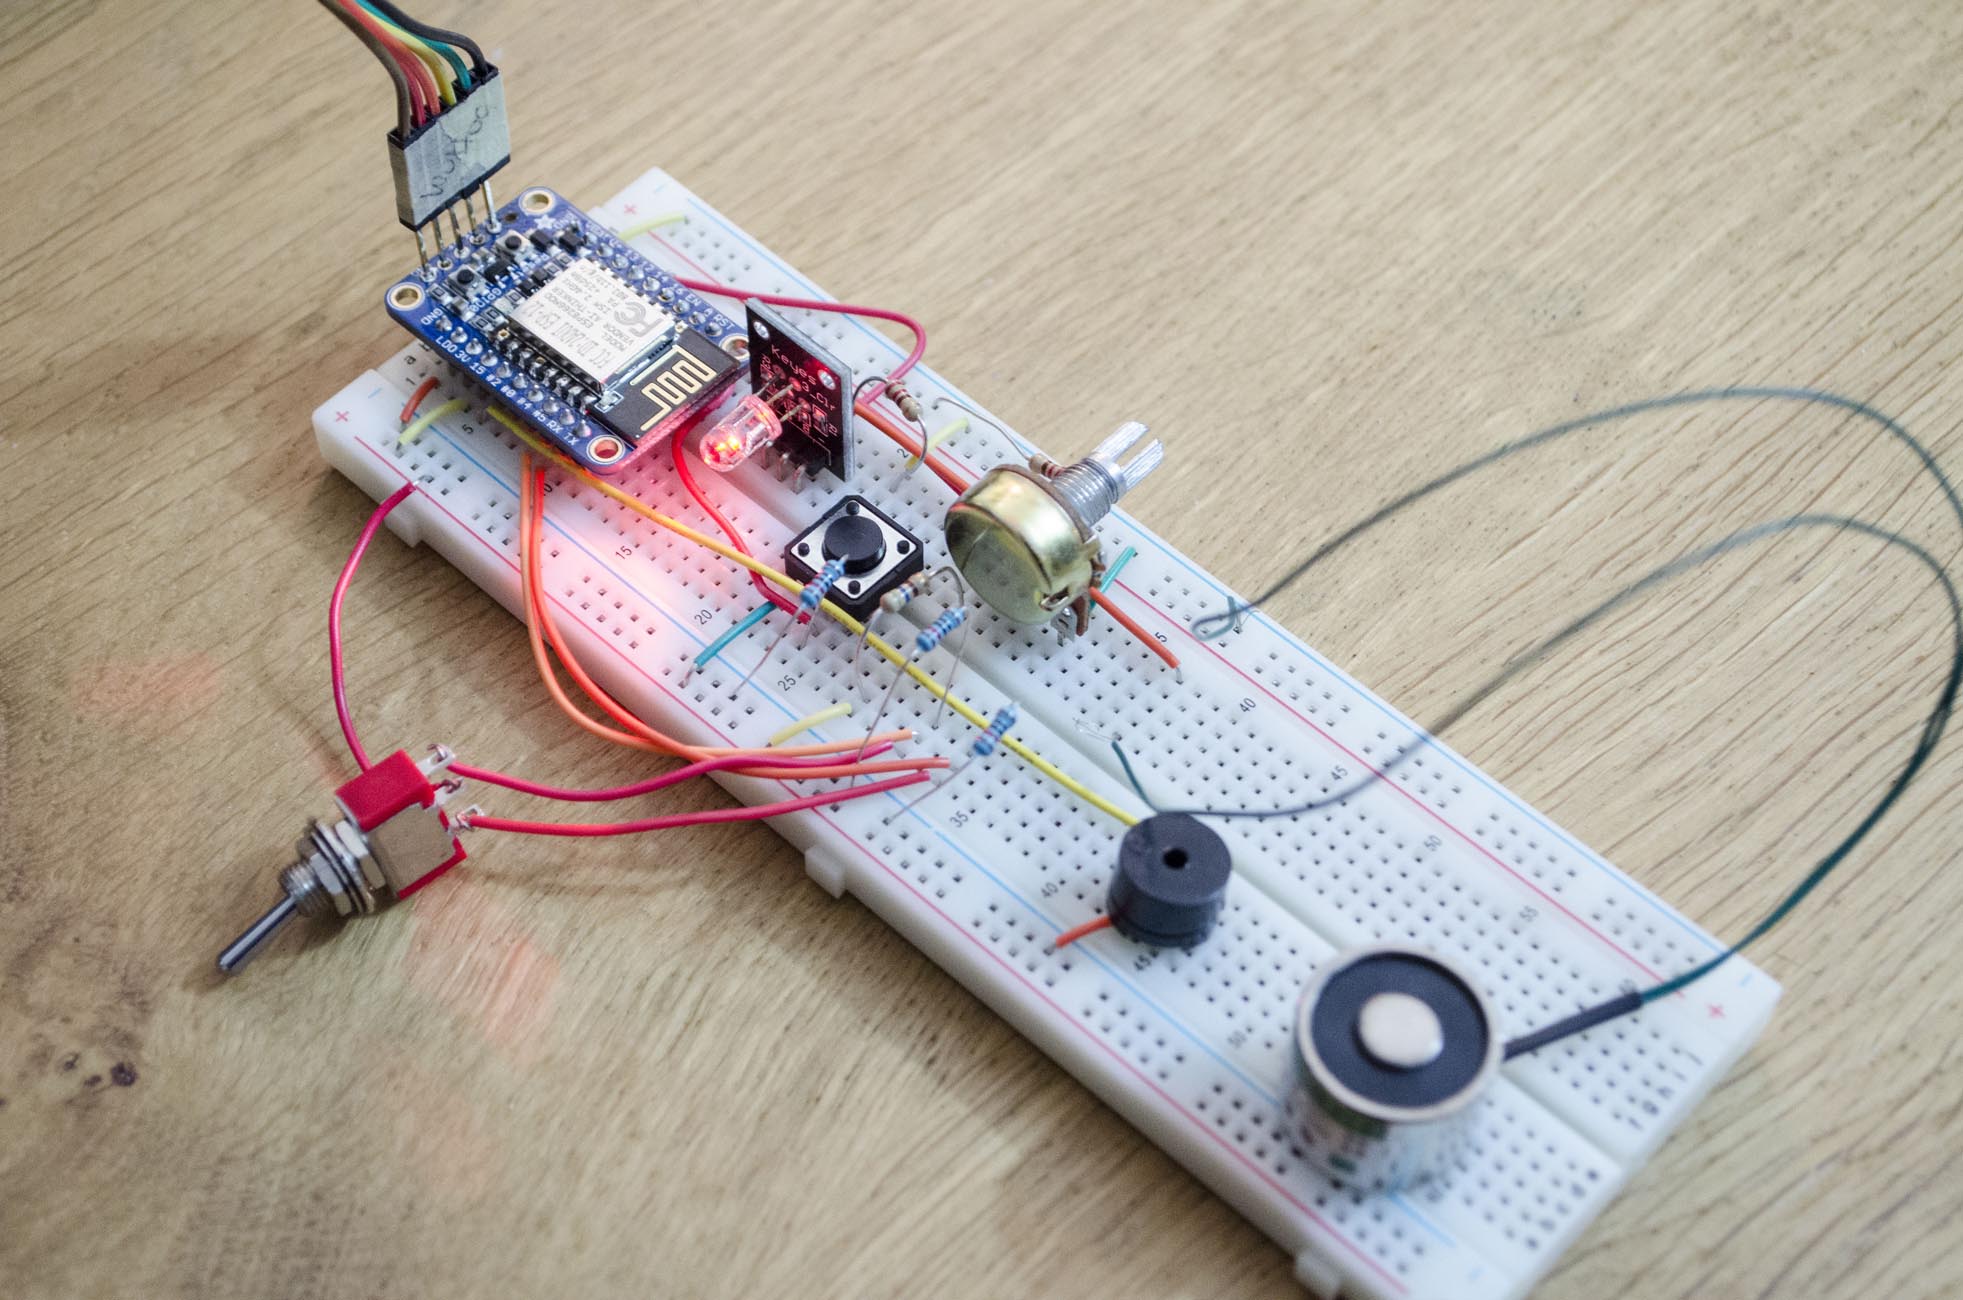
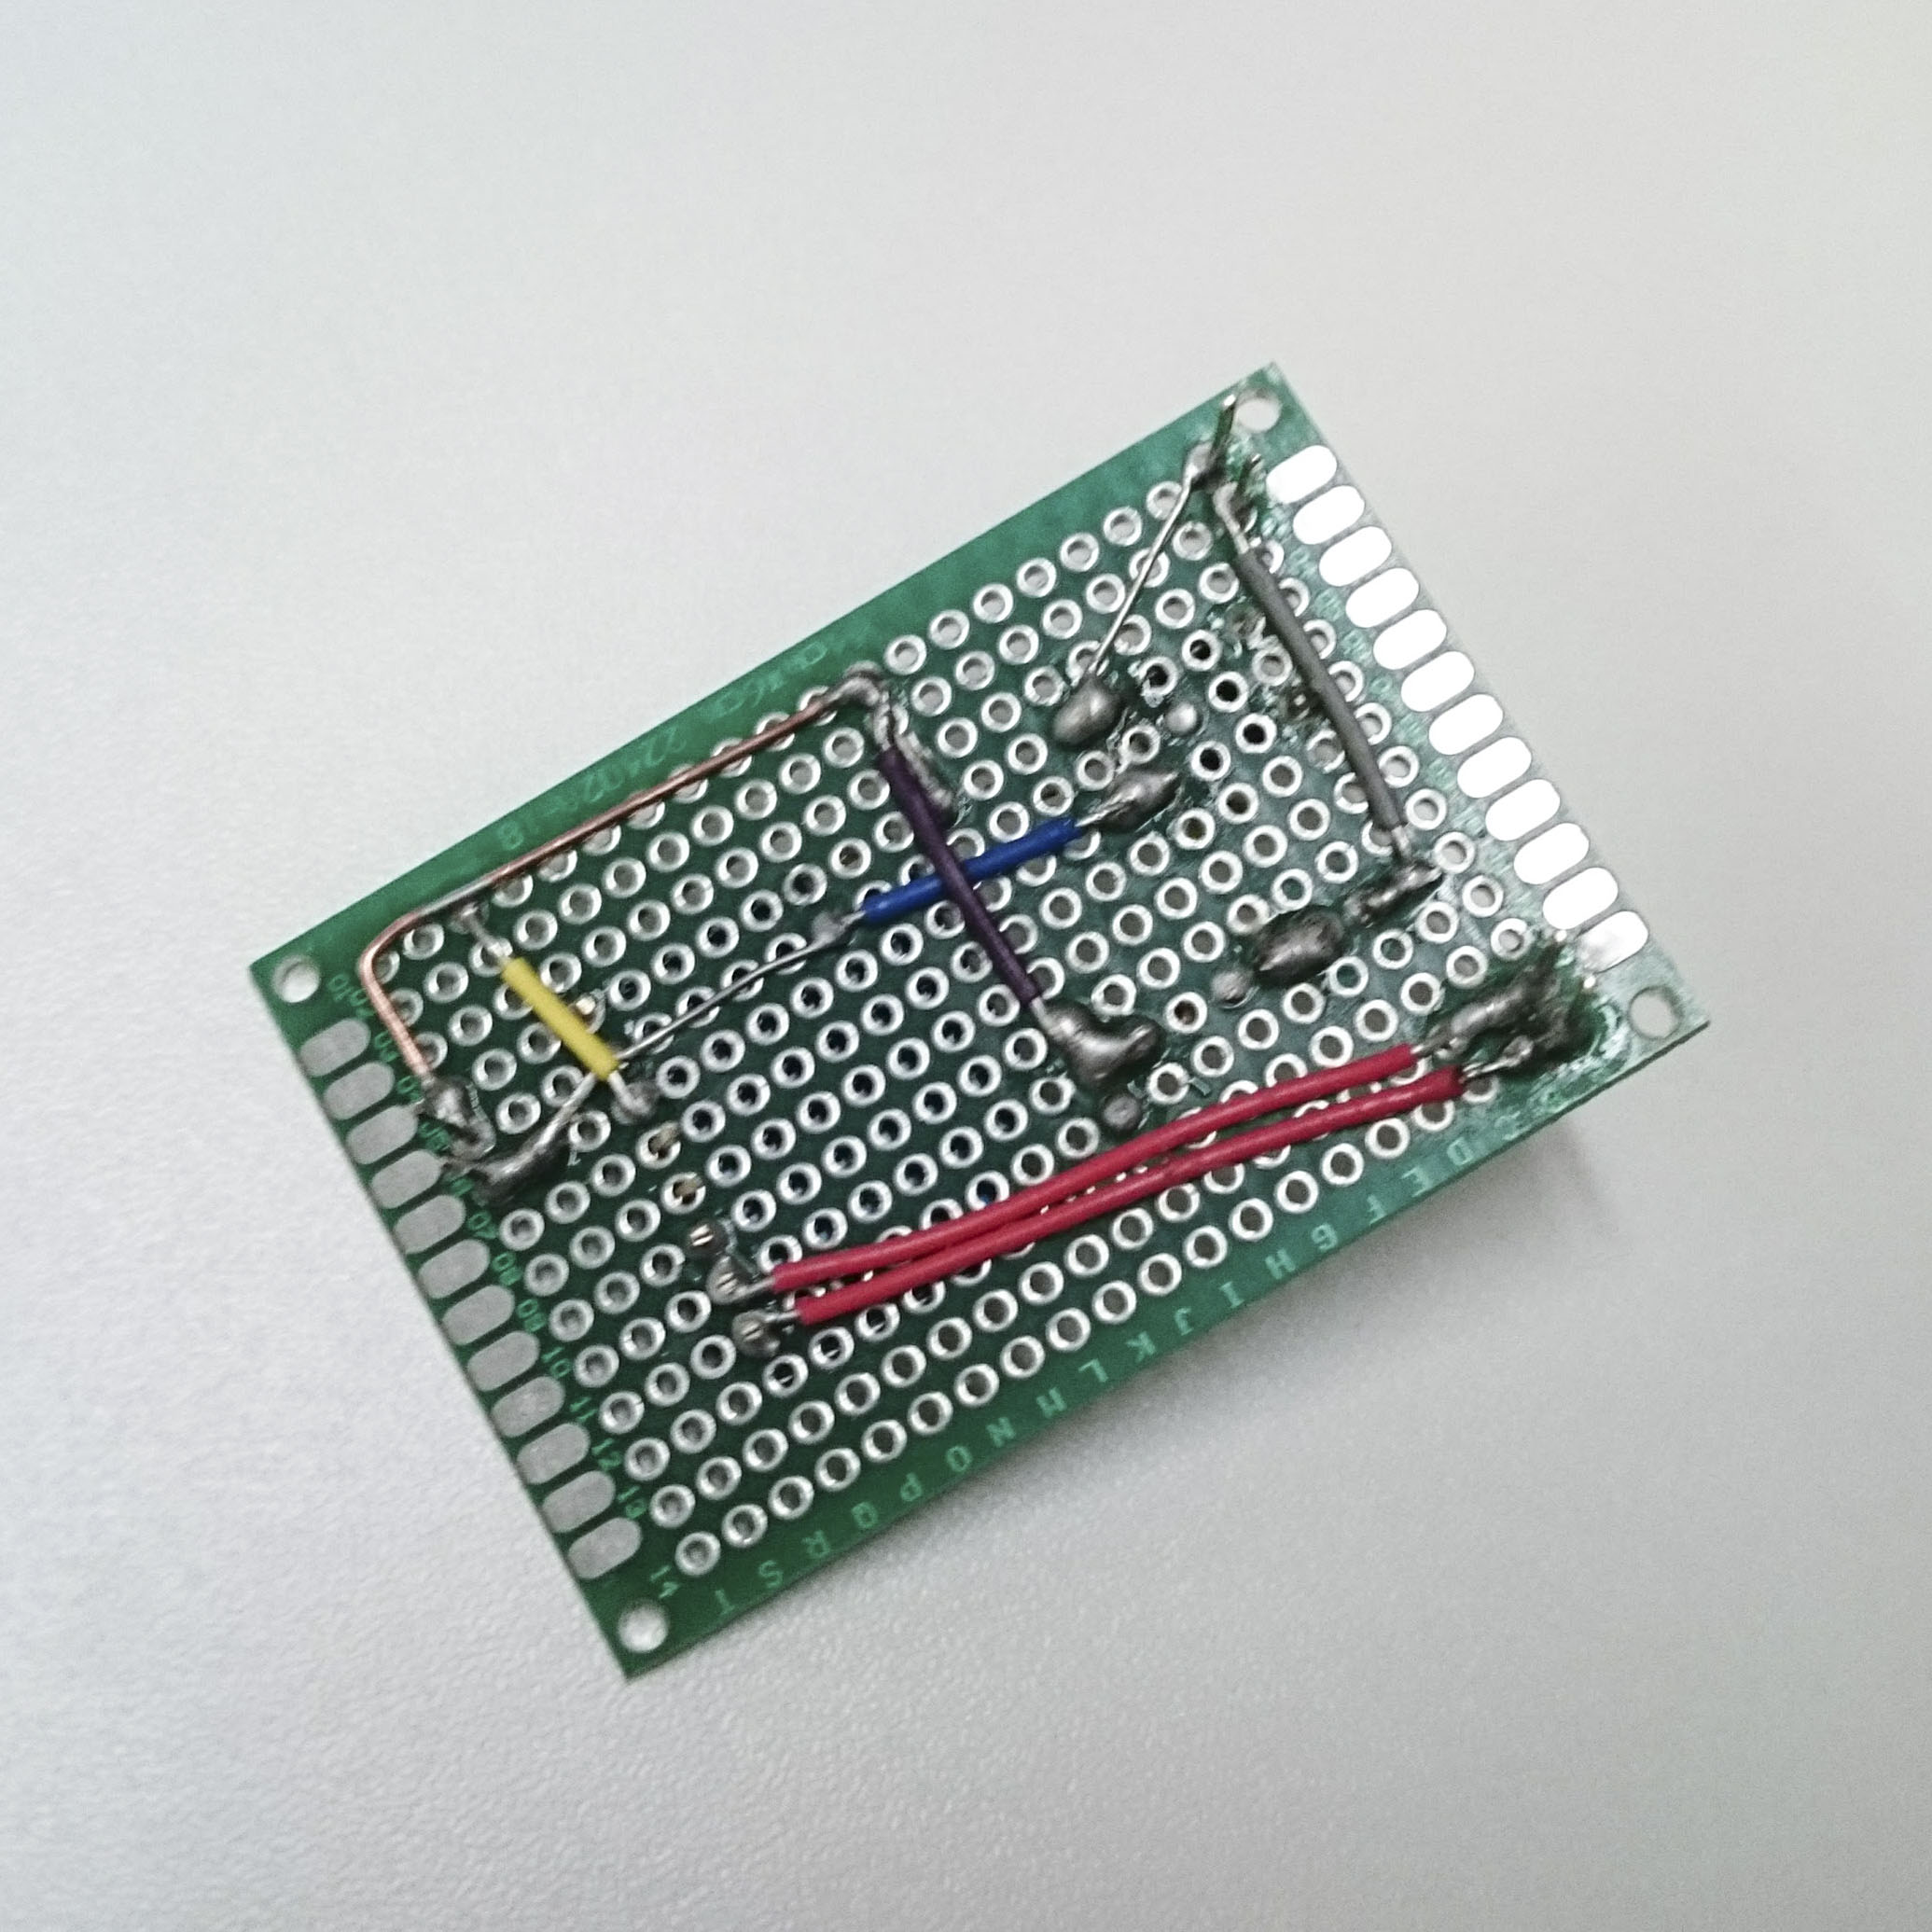
I soldered the chip and resistors onto perma proto board, attaching the components to loose wires so I could mount them onto the enclosure more easily.
To get the data from Twitter I set up a node.js app on Glitch which grabs mentions of a particular username since a particular point in time (by way of a specific ‘since’ tweet ID). I had a lot of trouble dealing with the datastructures to parse the Twitter json on the microcontroller side so elected instead to do that on the node side of things.
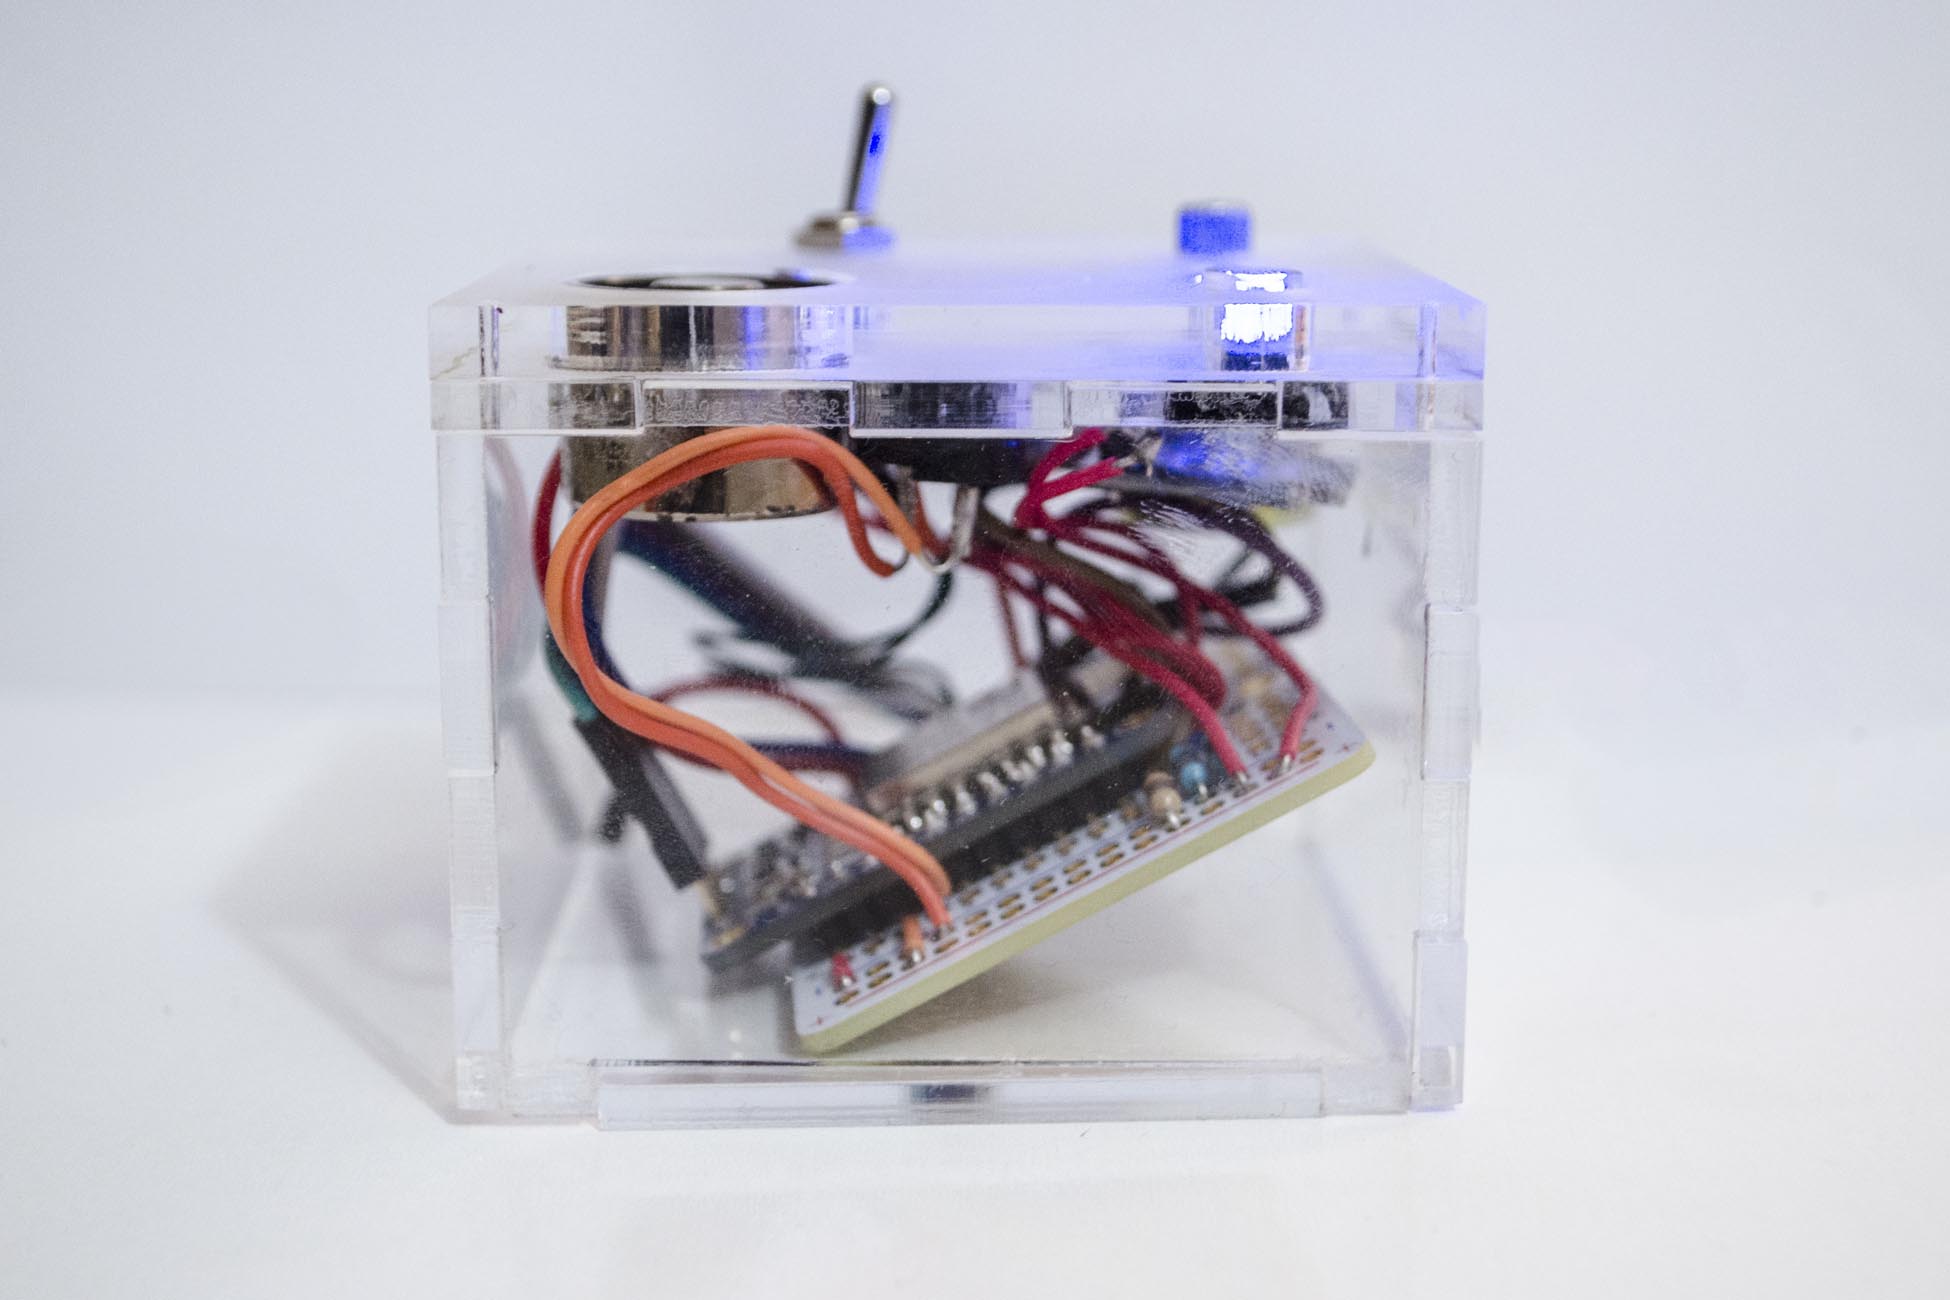
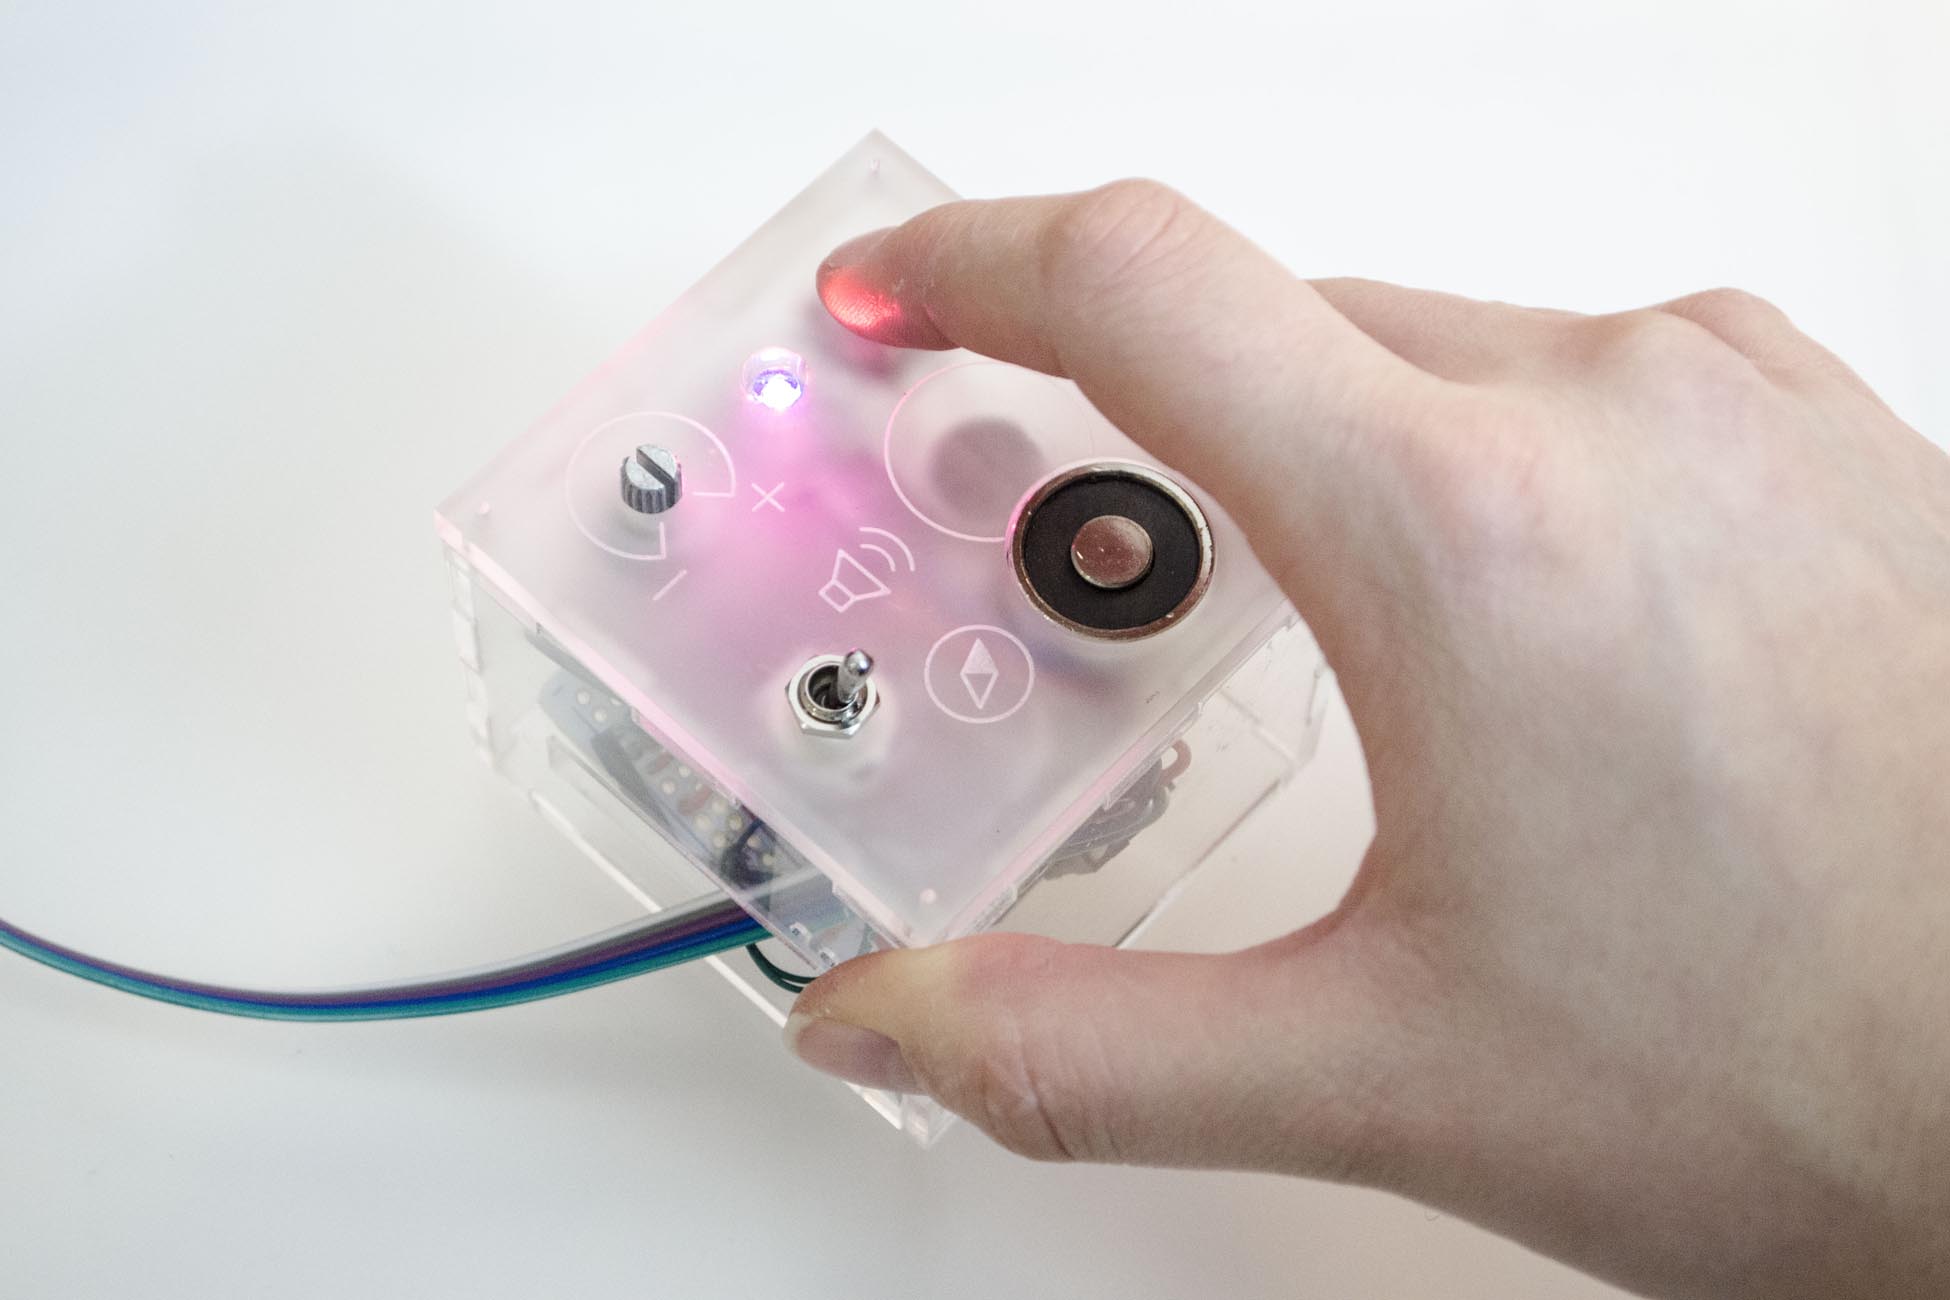
It looks pretty awesome. I did design the enclosure to fit a battery pack but the machine wouldn’t work with 3 AAs, I’m waiting on a Lithium battery to solve that. For now a serial cable is adequate.